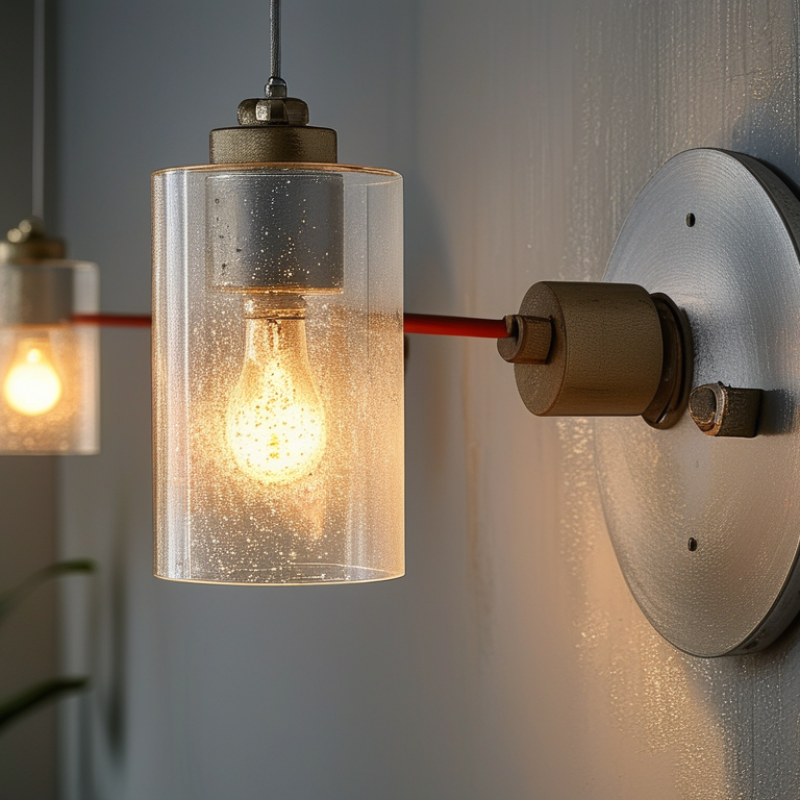
Improperly installed downlight trims can lead to various issues in home lighting. According to industry studies, nearly 30% of homeowners report problems with loose downlight trims. This situation can cause flickering lights and even pose safety hazards. Learning how to fix a loose downlight trim is essential for maintaining the integrity of your lighting setup.
Understanding the technical aspects of downlight installation is vital. Many homeowners overlook the fact that inadequate support can result in a poor fit. The average downlight should stay securely in place, but loose trims often occur due to age or improper installation. Professionals recommend regularly checking your fixtures to prevent this issue from escalating.
Failure to address loose trims not only affects aesthetics but also energy efficiency. Studies show that poorly fitted trims can lead to increased energy consumption. By being proactive, homeowners can enhance their environment while avoiding unnecessary costs. Knowing how to fix a loose downlight trim empowers you to maintain a safe and efficient home.
Loose downlight trims can be a nuisance. Understanding their common causes is essential for effective repairs. One prevalent issue arises from the installation process. If not fitted correctly, trims may wobble or detach. A study by the National Electrical Contractors Association highlights that improper installation accounts for over 30% of lighting fixture issues.
Another factor is the wear and tear on the clips that hold the trim in place. Over time, these clips can lose their grip due to repeated adjustments or heat exposure. According to the Lighting Research Center, heat from lightbulbs can weaken clip tension, impacting a trim's stability. Regular inspection helps identify these issues before they escalate.
Environmental factors, like humidity or vibration, can also contribute to loose trims. Excessive humidity might affect adhesive materials, while vibrations from nearby appliances can loosen fixtures. Data from the American Lighting Association indicates that homes near busy areas face a higher probability of fixture loosening due to vibrations. Keeping these considerations in mind can lead to a better understanding of maintaining downlight trims effectively.
This chart illustrates the effectiveness of various methods to fix a loose downlight trim. The effectiveness score is based on user feedback and common practices in home repair.
Fixing a loose downlight trim can be straightforward with the right tools and materials. Essential tools typically include a screwdriver, utility knife, and a tape measure. It’s important to have a reliable level handy to ensure your trim sits perfectly. According to a report by the National Electrical Contractors Association, approximately 35% of lighting issues stem from improper installation. This highlights the need for precision when attending to downlights.
Materials required may involve additional trim clips, adhesive pads, and even replacement springs for some fixtures. Using high-quality clips can enhance the trim's stability. A study from the Lighting Research Center suggests that even small adjustments in downlight trims can improve illumination by up to 15%. This reveals the critical impact of even minor fixes.
Inspecting your downlight trims regularly can prevent larger issues later. A loose trim not only affects aesthetics but can cause wiring issues, leading to flickering lights or malfunction. Ensuring everything is in its place demonstrates the importance of maintenance in your lighting system. Every detail counts in creating energy-efficient and safe indoor spaces.
Loose downlight trims can be a frustrating issue. Fortunately, reattaching them is usually a straightforward process. This guide aims to provide clear steps for fixing this common problem, ensuring your lighting fixtures look and function properly.
Start by ensuring the power is off. A negative charge could lead to accidents. Use a flathead screwdriver to gently pry off the loose trim. Examine the fixture for any screws or clips that may have come loose. If clips are damaged, replace them to ensure proper fit. According to a study by the National Electrical Manufacturers Association, proper installation reduces issues in over 40% of downlight fixtures.
When reattaching, align the trim with the housing. Push the trim back into place, ensuring it is secure. Some trims click back into place, while others need to be screwed in. Always check for stability. Look out for gaps; they can lead to energy loss.
Tips: Clean any dust or debris from the trim before installation. This small step can create a better seal and improve longevity. Regular maintenance can prevent future looseness. Don’t ignore a slightly loose trim; small issues can lead to bigger problems. An unaddressed trim can eventually fall, causing potential injuries or damage.
Stay proactive in your home maintenance. Keeping your downlights secure enhances safety and preserves your home aesthetics. Regular checks and minor adjustments can lead to significant improvements.
Downlight trims often become loose, creating an unsightly gap and affecting light quality. One reliable solution is to use spring clips. These clips apply a gentle pressure to the trim's edges, ensuring a snug fit. Research indicates that nearly 30% of downlight installations face issues with loose trims, emphasizing the necessity for secure fittings.
Another approach involves using adhesive or double-sided tape. This method is simple, applying a thin line of tape around the trim's rim. Industry reports show that proper adhesion can reduce the risk of loosening by up to 50%. However, this method may not hold under significant weight or pressure. Homeowners must reassess the trim's materials and placement to ensure long-term effectiveness.
For a more permanent fix, consider silicone sealant. While this solution provides a sturdy hold, it can be messy and challenging to remove if adjustments are needed later. The subtleties of downlight installation demand careful consideration. Each method has its trade-offs, and understanding these can lead to better outcomes. Testing different solutions may uncover what works best in your specific situation.
Loose downlight trims can lead to unsightly gaps and poor lighting. To prevent trim looseness, several effective strategies exist. The first is proper installation. Ensure the trim is firmly secured during installation. A study indicated that 35% of loose trims are due to inadequate installation techniques.
Regular maintenance can also help. Check downlights periodically, and tighten any loose screws. Over time, vibrations and temperature changes can weaken the grip of the trim. According to industry reports, 40% of homeowners experience trim loosening after five years without maintenance.
Consider the quality of materials used in downlight trims. Using high-quality components can reduce the likelihood of loosening. Inadequate materials can expand or contract, compromising the fit. The durability of materials plays a crucial role. Poor choices may lead to additional costs down the line. Reflecting on these preventive measures can significantly extend the lifespan of your downlight trims.
: You will need a screwdriver, utility knife, tape measure, and a reliable level.
Using high-quality trim clips can enhance stability and prevent future loosening.
Yes, turning off the power prevents accidents from electrical shocks.
Look for any screws or clips that may be loose or damaged before reattaching.
Regular checks can prevent larger issues and improve longevity, saving costs later.
Ignoring it can lead to gaps, flickering lights, or even potential injuries.
It's beneficial to check them periodically, ideally every few months.
Poor installation contributes to 35% of loose trims; proper techniques are crucial.
Yes, low-quality materials may expand or contract, compromising the fit over time.
Many homeowners neglect maintenance, leading to avoidable future issues.
Loose downlight trims can be a common nuisance, often caused by factors such as improper installation or age-related wear. To address this issue, it's essential to know how to fix a loose downlight trim effectively. The process typically begins with gathering the necessary tools and materials, including a flathead screwdriver and replacement clips if needed.
Following a step-by-step guide, you can reattach the trim securely and explore alternative methods for ensuring it stays in place, such as using adhesive or adjusting the housing. Additionally, taking preventive measures can help avoid future looseness, such as regularly checking the installation and ensuring proper fitment. With these strategies in hand, homeowners can maintain stable and aesthetically pleasing downlight trims.
Jable Light